Focusing when shooting a solar eclipse by Udo Luetze

Eclipse Movie 0.jpg

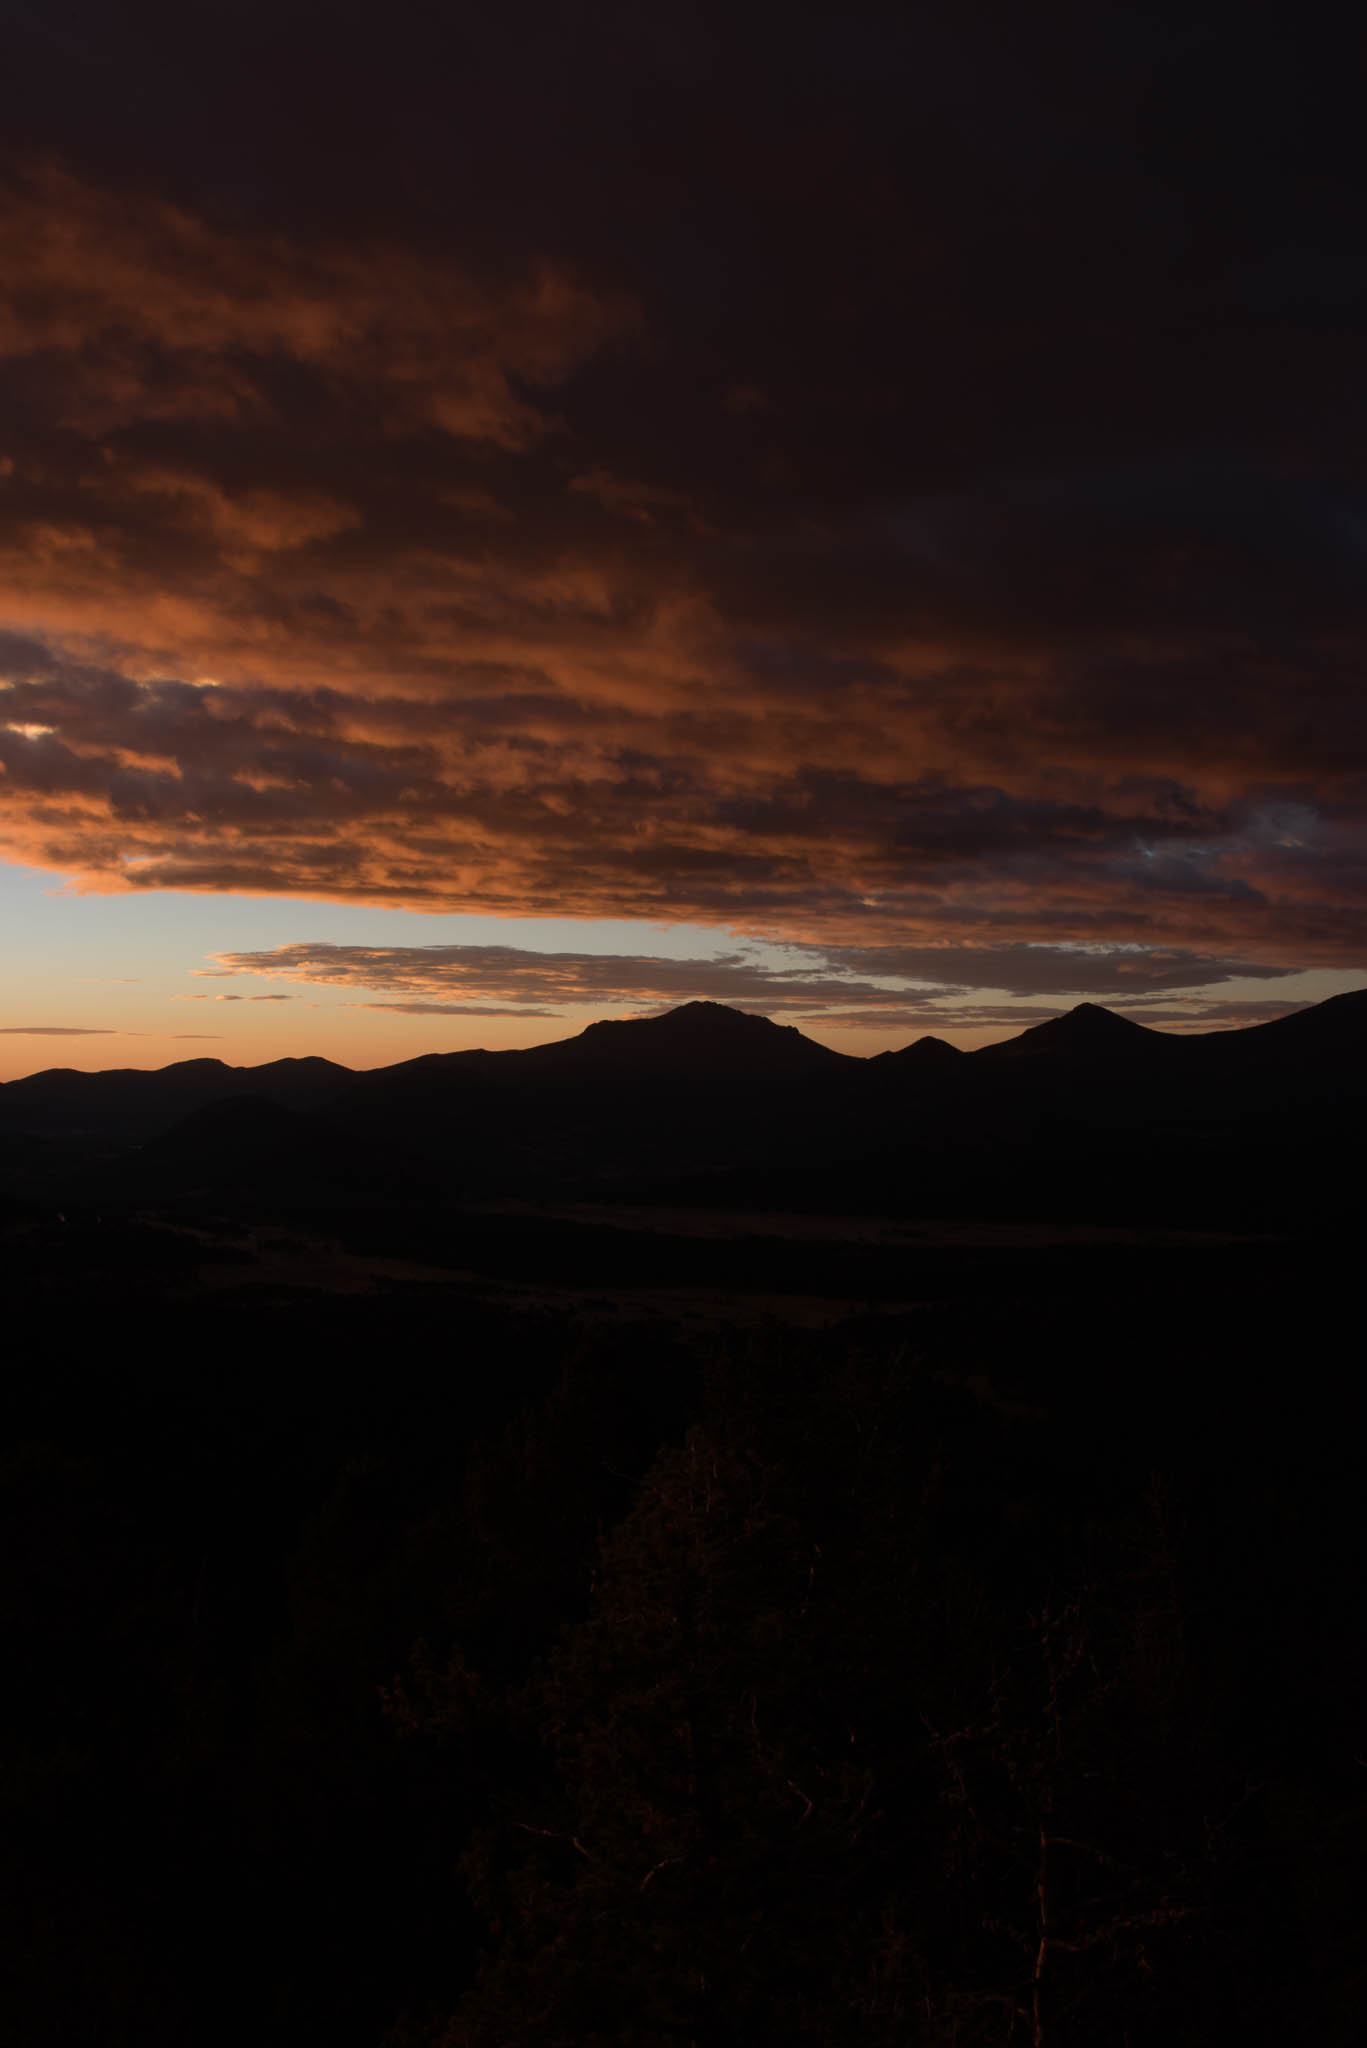
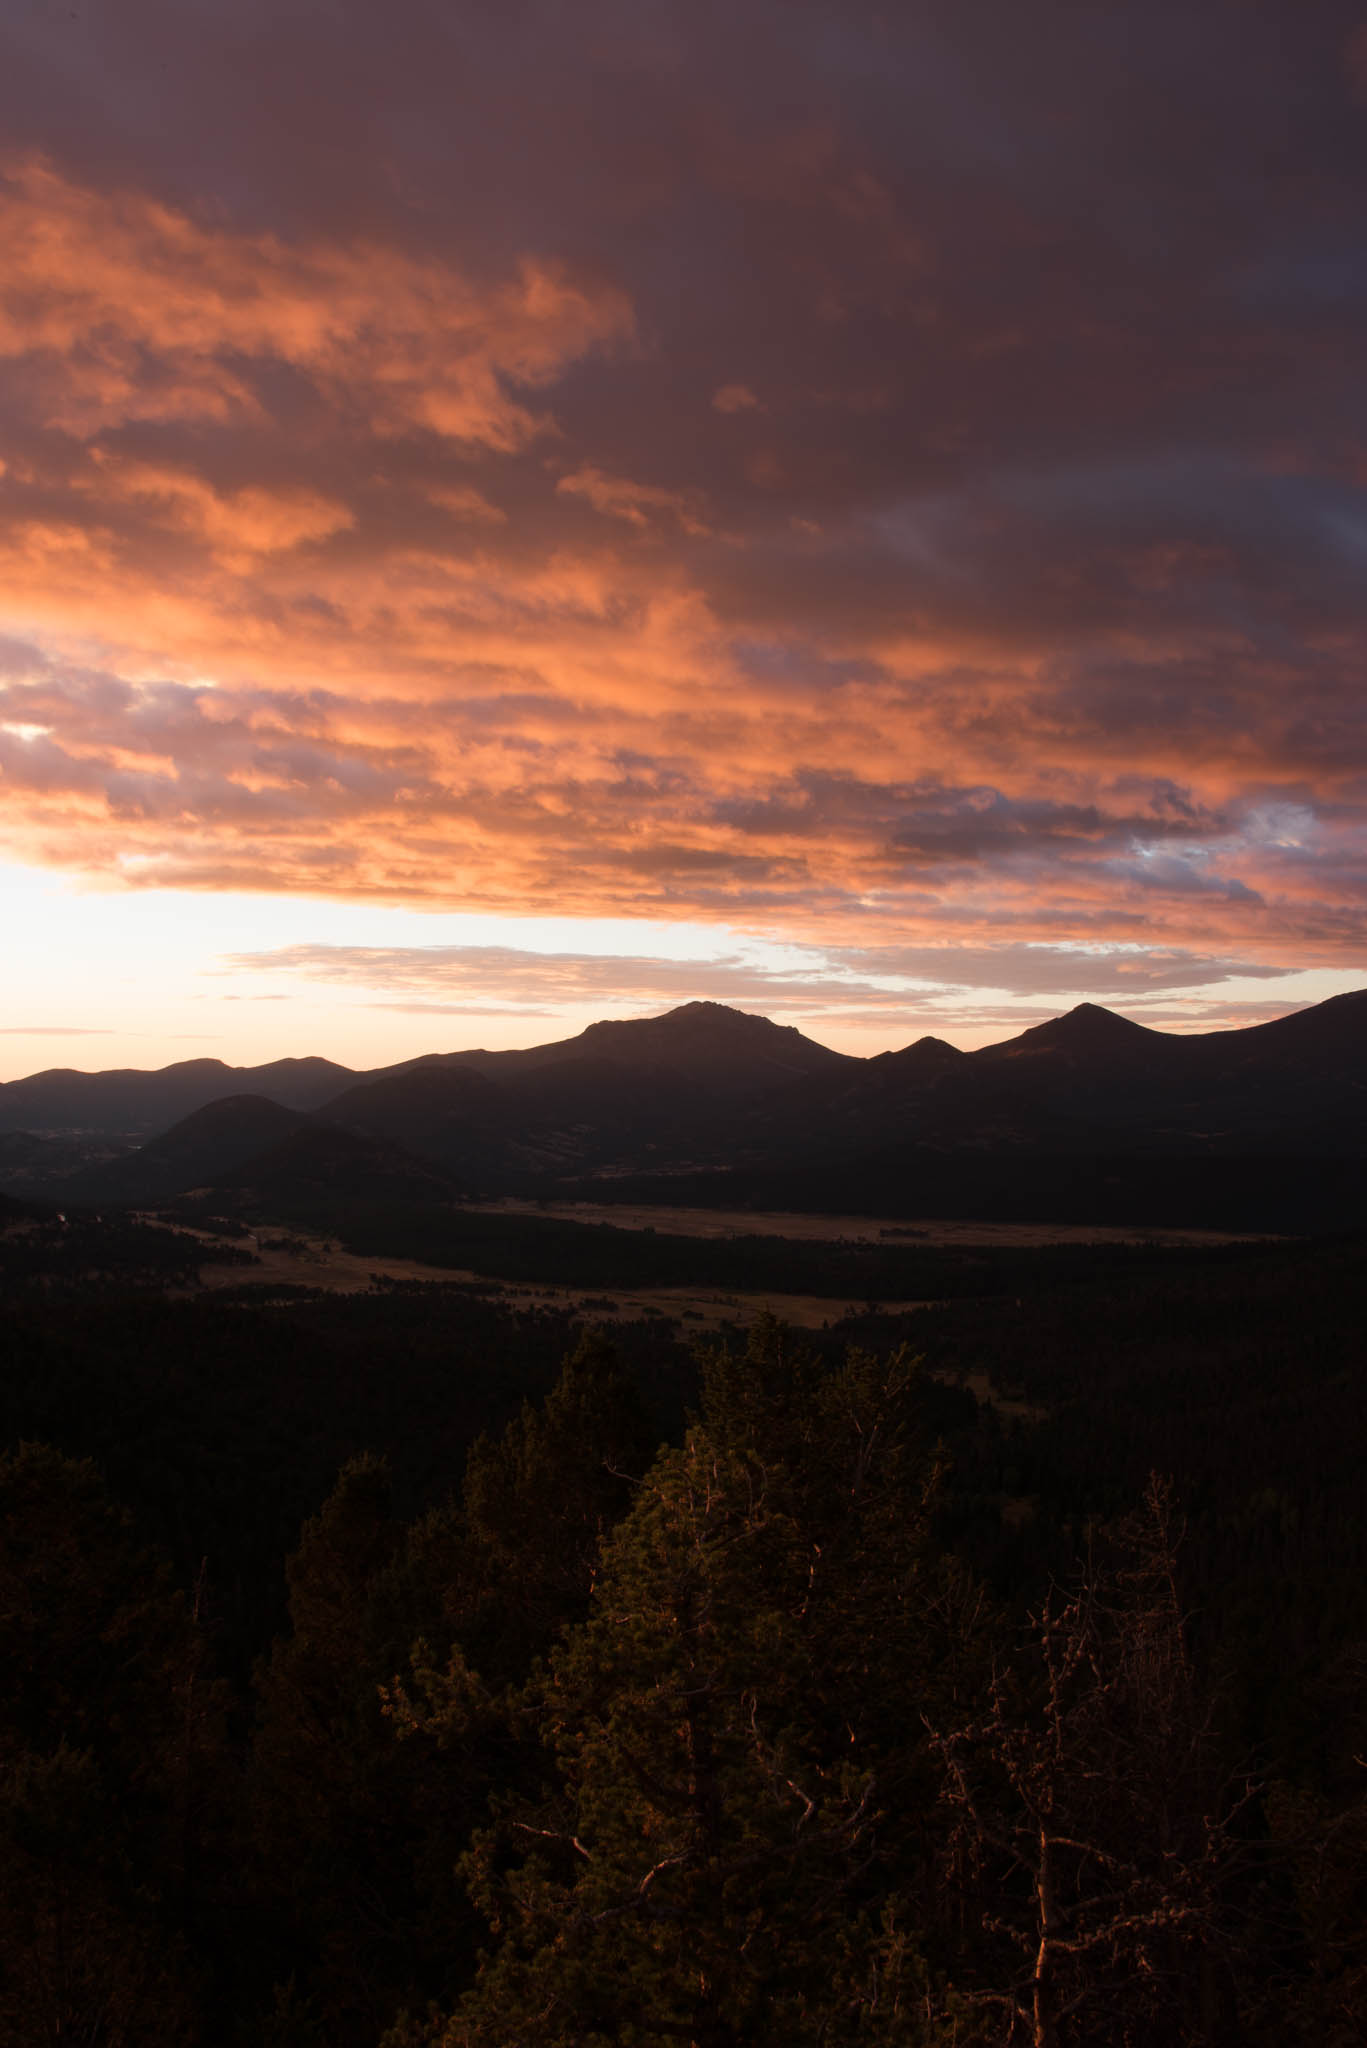
Shooting a solar eclipse is for most a once in a lifetime experience and it is important that you prepare yourself for the shoot.  Know your setup, your camera settings and your procedures.  Then, practice several times prior to the event so that you are familiar with all the necessary steps.  Keep the gear to a minimum and know how to use it.  Sounds easy enough but totality is only about 2 minutes and you don't want to use this time to fumble with your gear.  You want to get the shot and enjoy the experience for yourself. 

Gear List

  • Nikon D500 camera
  • Nikon AF-S Teleconverter TC-17E II
  • AF-S Nikkor 80-400mm 1:4.5-5.6G ED lens at 400mm
  • Lee 20 Stop solar eclipse filter
  • TVC-34L Tripod + BH-55 LR Ballhead
  • Roundshot VR drive panoramic head
  • Vello ShutterBoss remote control
  • Hoodman Loupe
  • Solar glases for myself!!!
IMG_2577.JPG

One of the biggest challenges in this type of shoot is to acquire and maintain proper focus for the entire shoot. Luckily, you can prefocus on the sun prior to the eclipse.

Eclipse Movie full sun.jpg

Autofocus is not going to work in this scenario so you have to put your camera in manual focus mode and turn image stabilization on your lens off.  Because of the long focal length of the lens (400 x 1.5 x 1.7 = 1050mm) your camera will vibrate every time you touch the body or the lens.  I used a very strong Really Right Stuff tripod and head but even then, vibration is still an issue.  This makes it very difficult.  I tried to manually focus and use a Hoodman loupe to verify focus.  With all the shaking going on, this was difficult.

This was the time when I switched to live view.  I moved my focus point to the edge of the sun in live view mode and gave the camera a chance to focus.  I then verified the focus with my Hoodman loupe.  The result was much better than my manual focus.

This is a case where life view really helps.  Once I acquired focus with live view, I looked it down with some gaffer tape on my lens.  That's it, focus acquired and locked down.

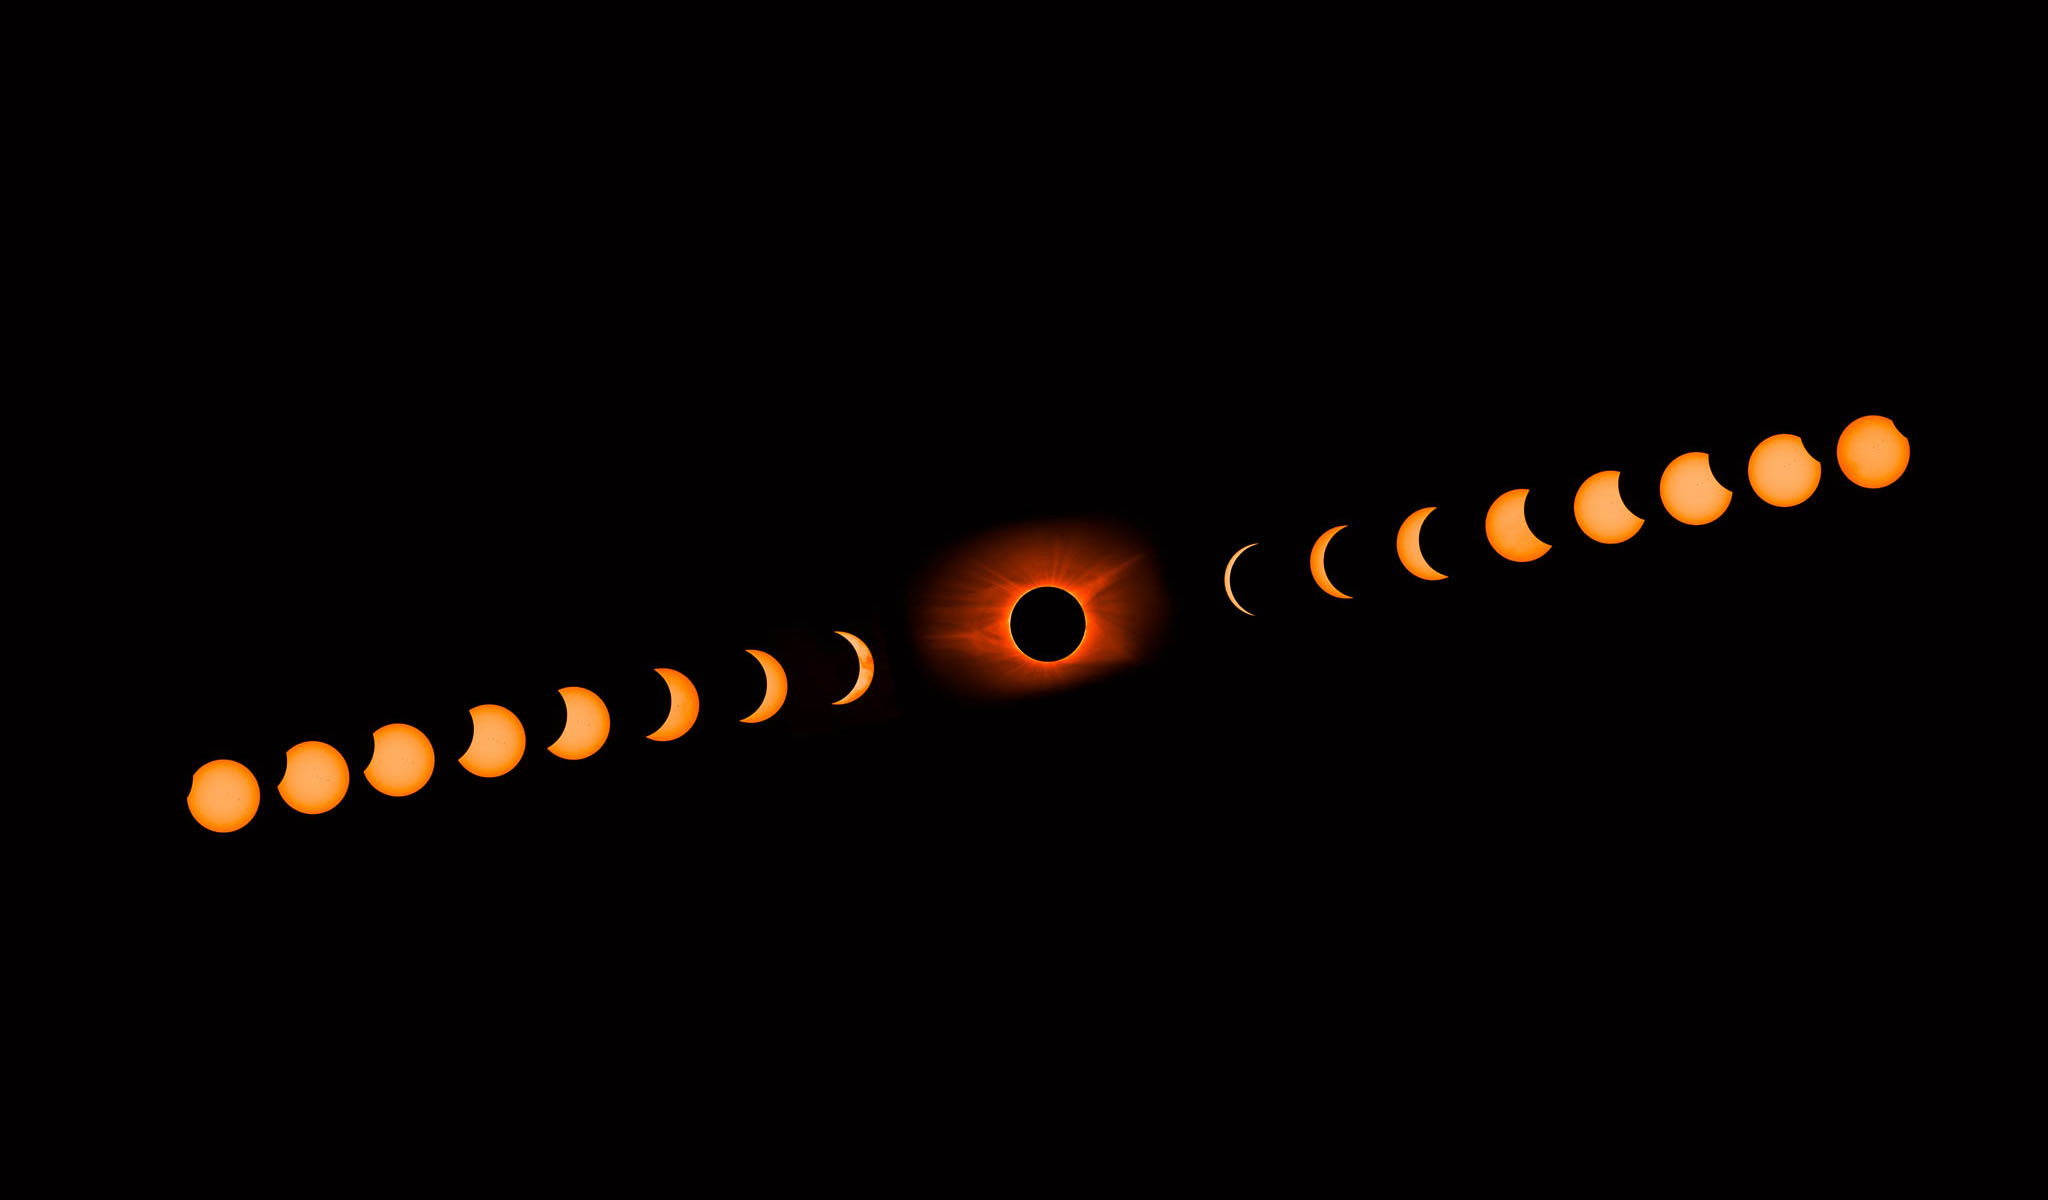
I then shoot a bracketed sequence of 5 shots in 1F increments every 10 Minutes before and after totality.  During totality, I adjusted my exposure, removed the filter and shoot a bracketed sequence of 9 shots in 1F increments.  That gave me all the shots I needed.

With an effective focal length of 1050mm, I was pretty tight on the sun.  I used the VR Drive to follow the sun and position it square in my view finder prior to each shot.  This drive is very precise and minimizes vibrations when rotating the setup.  After repositioning, I waited 5 seconds to get rid of any vibration.  Then, I released the shutter with my Velo ShutterBoss.

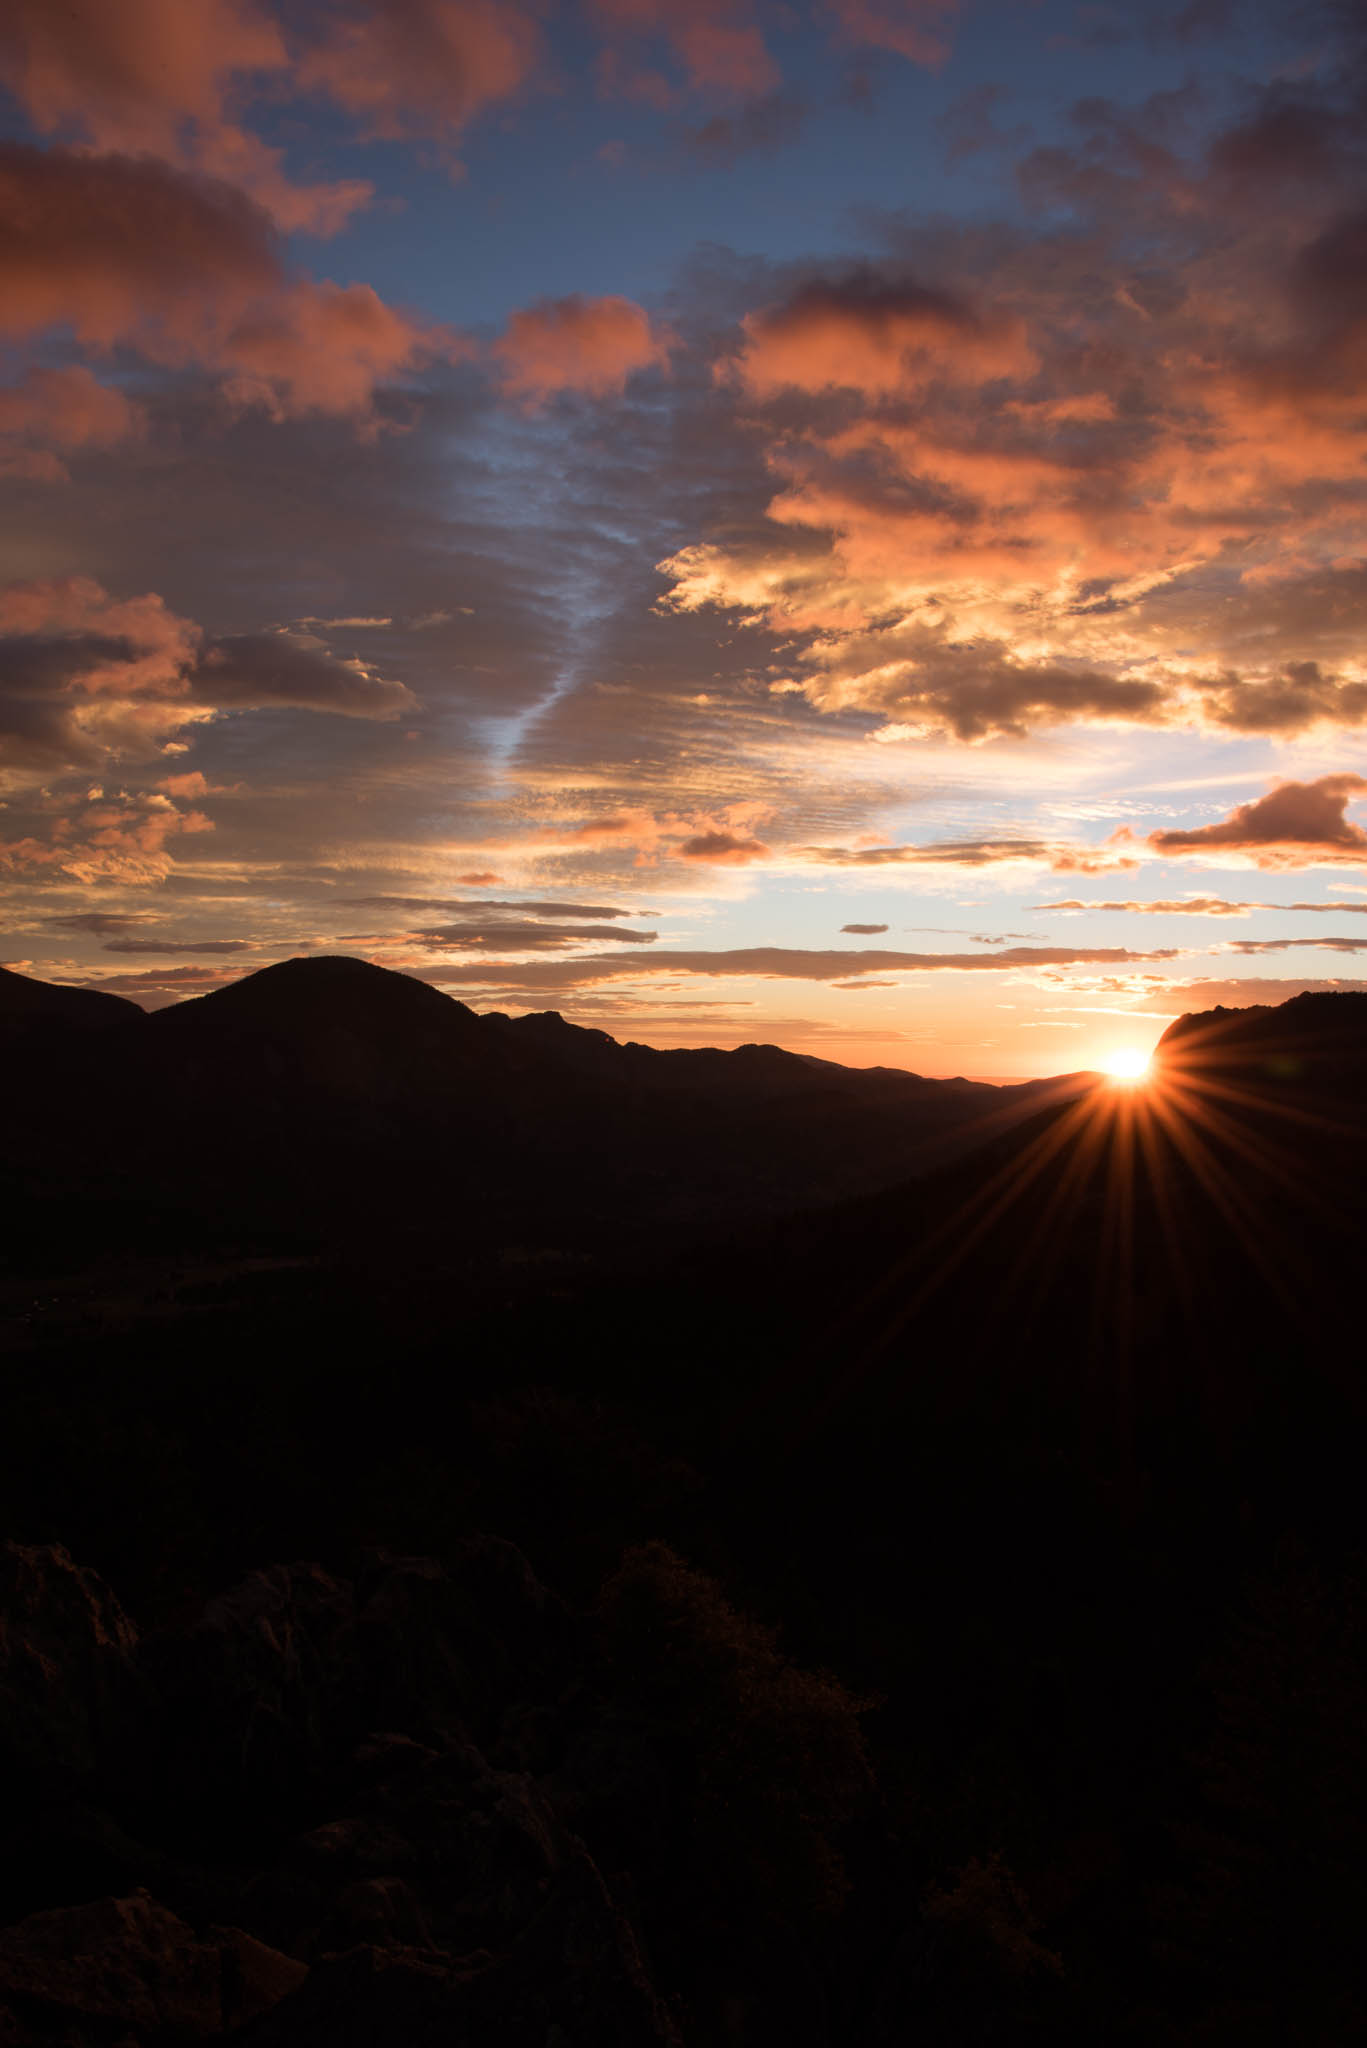
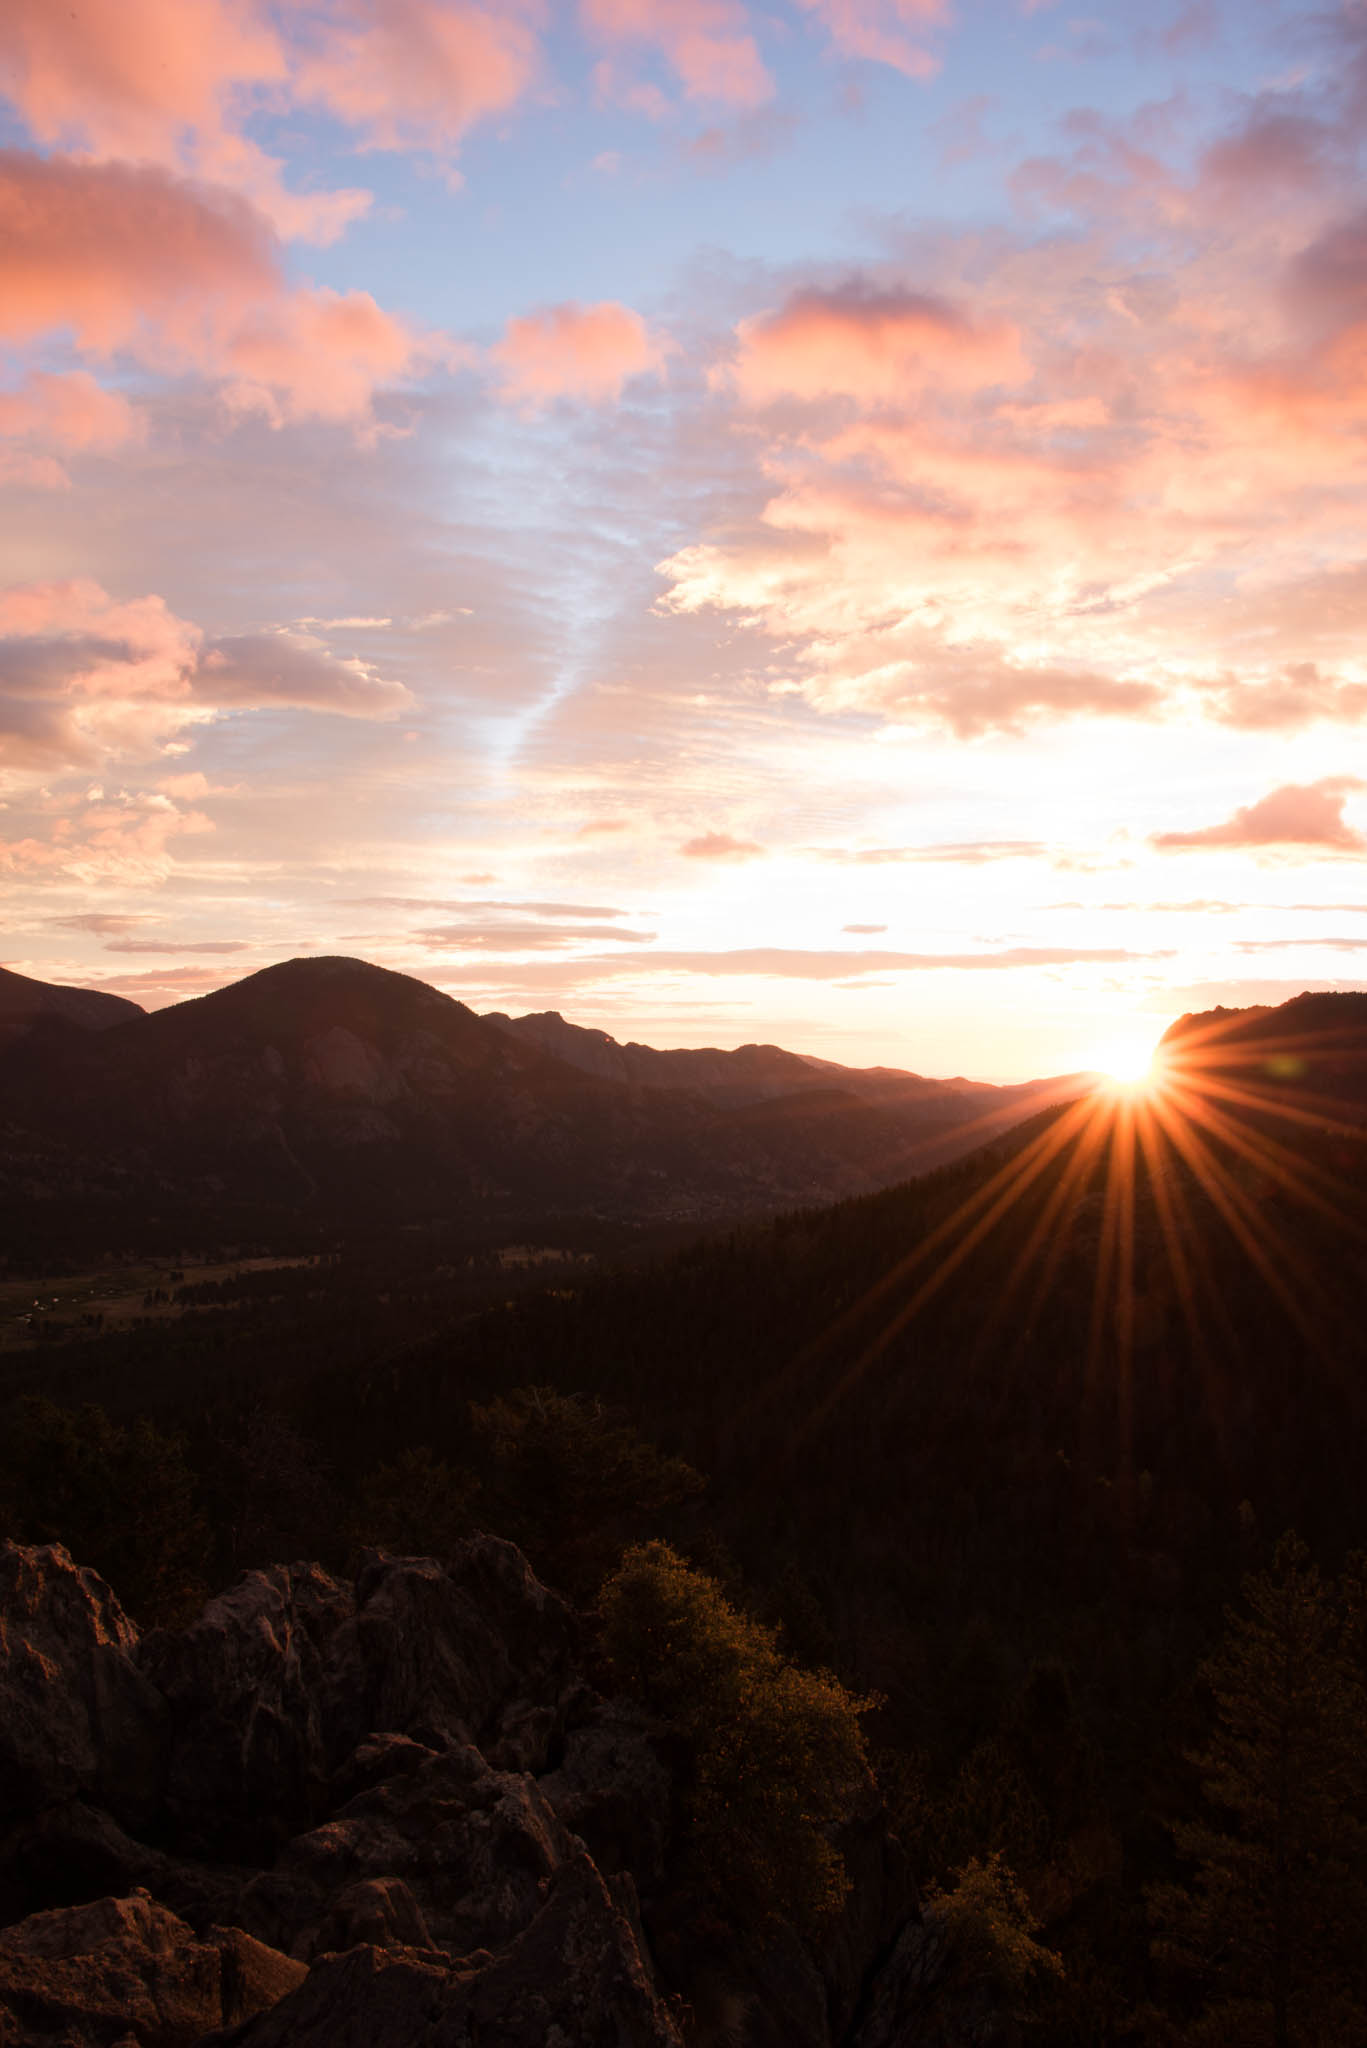
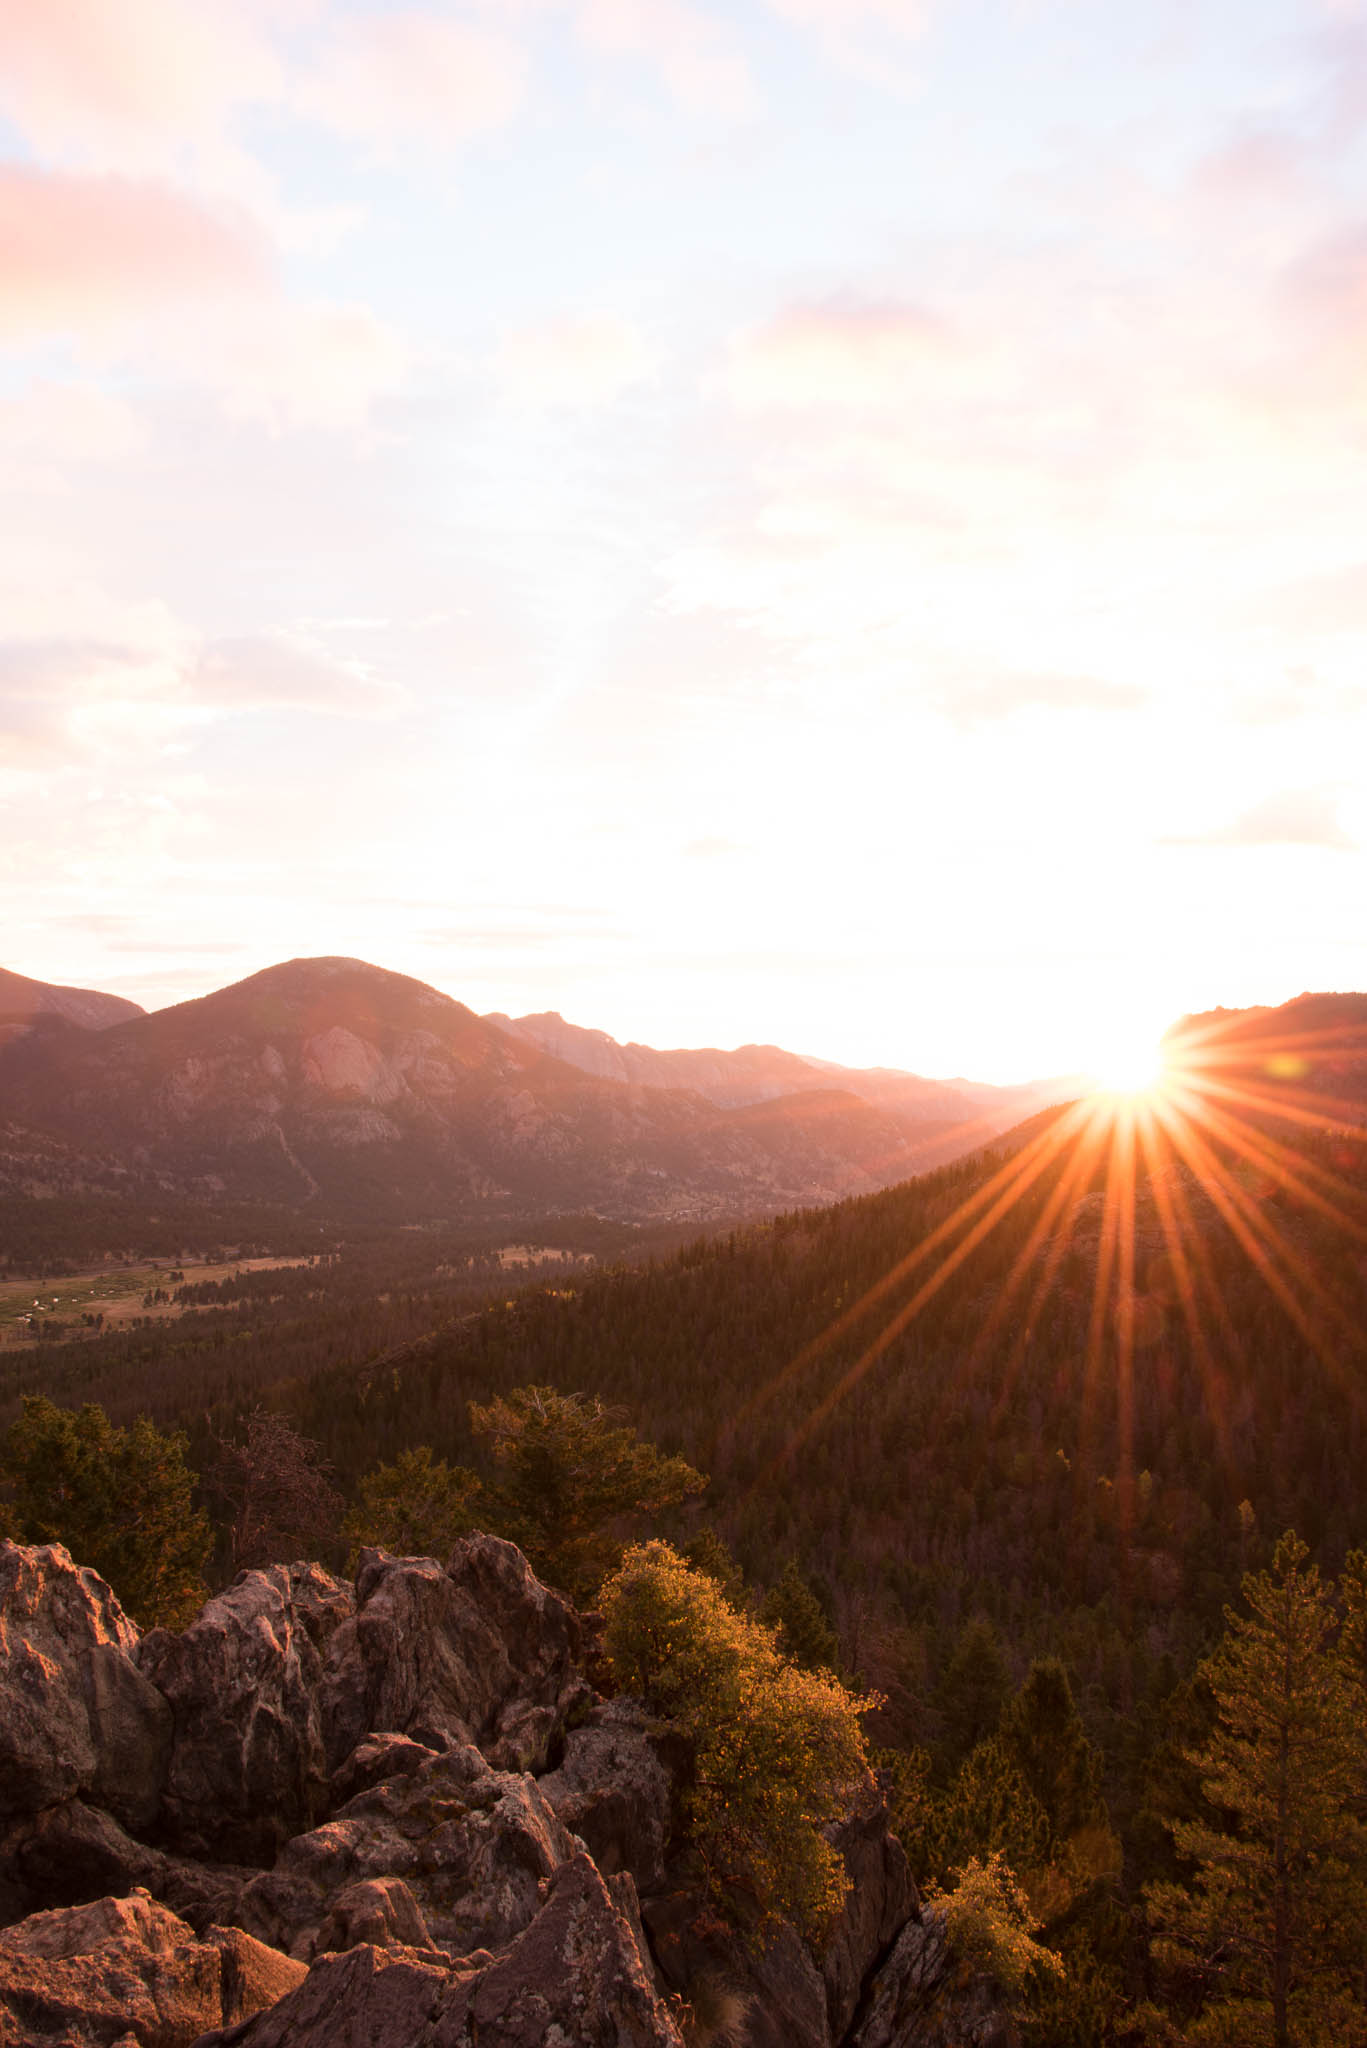
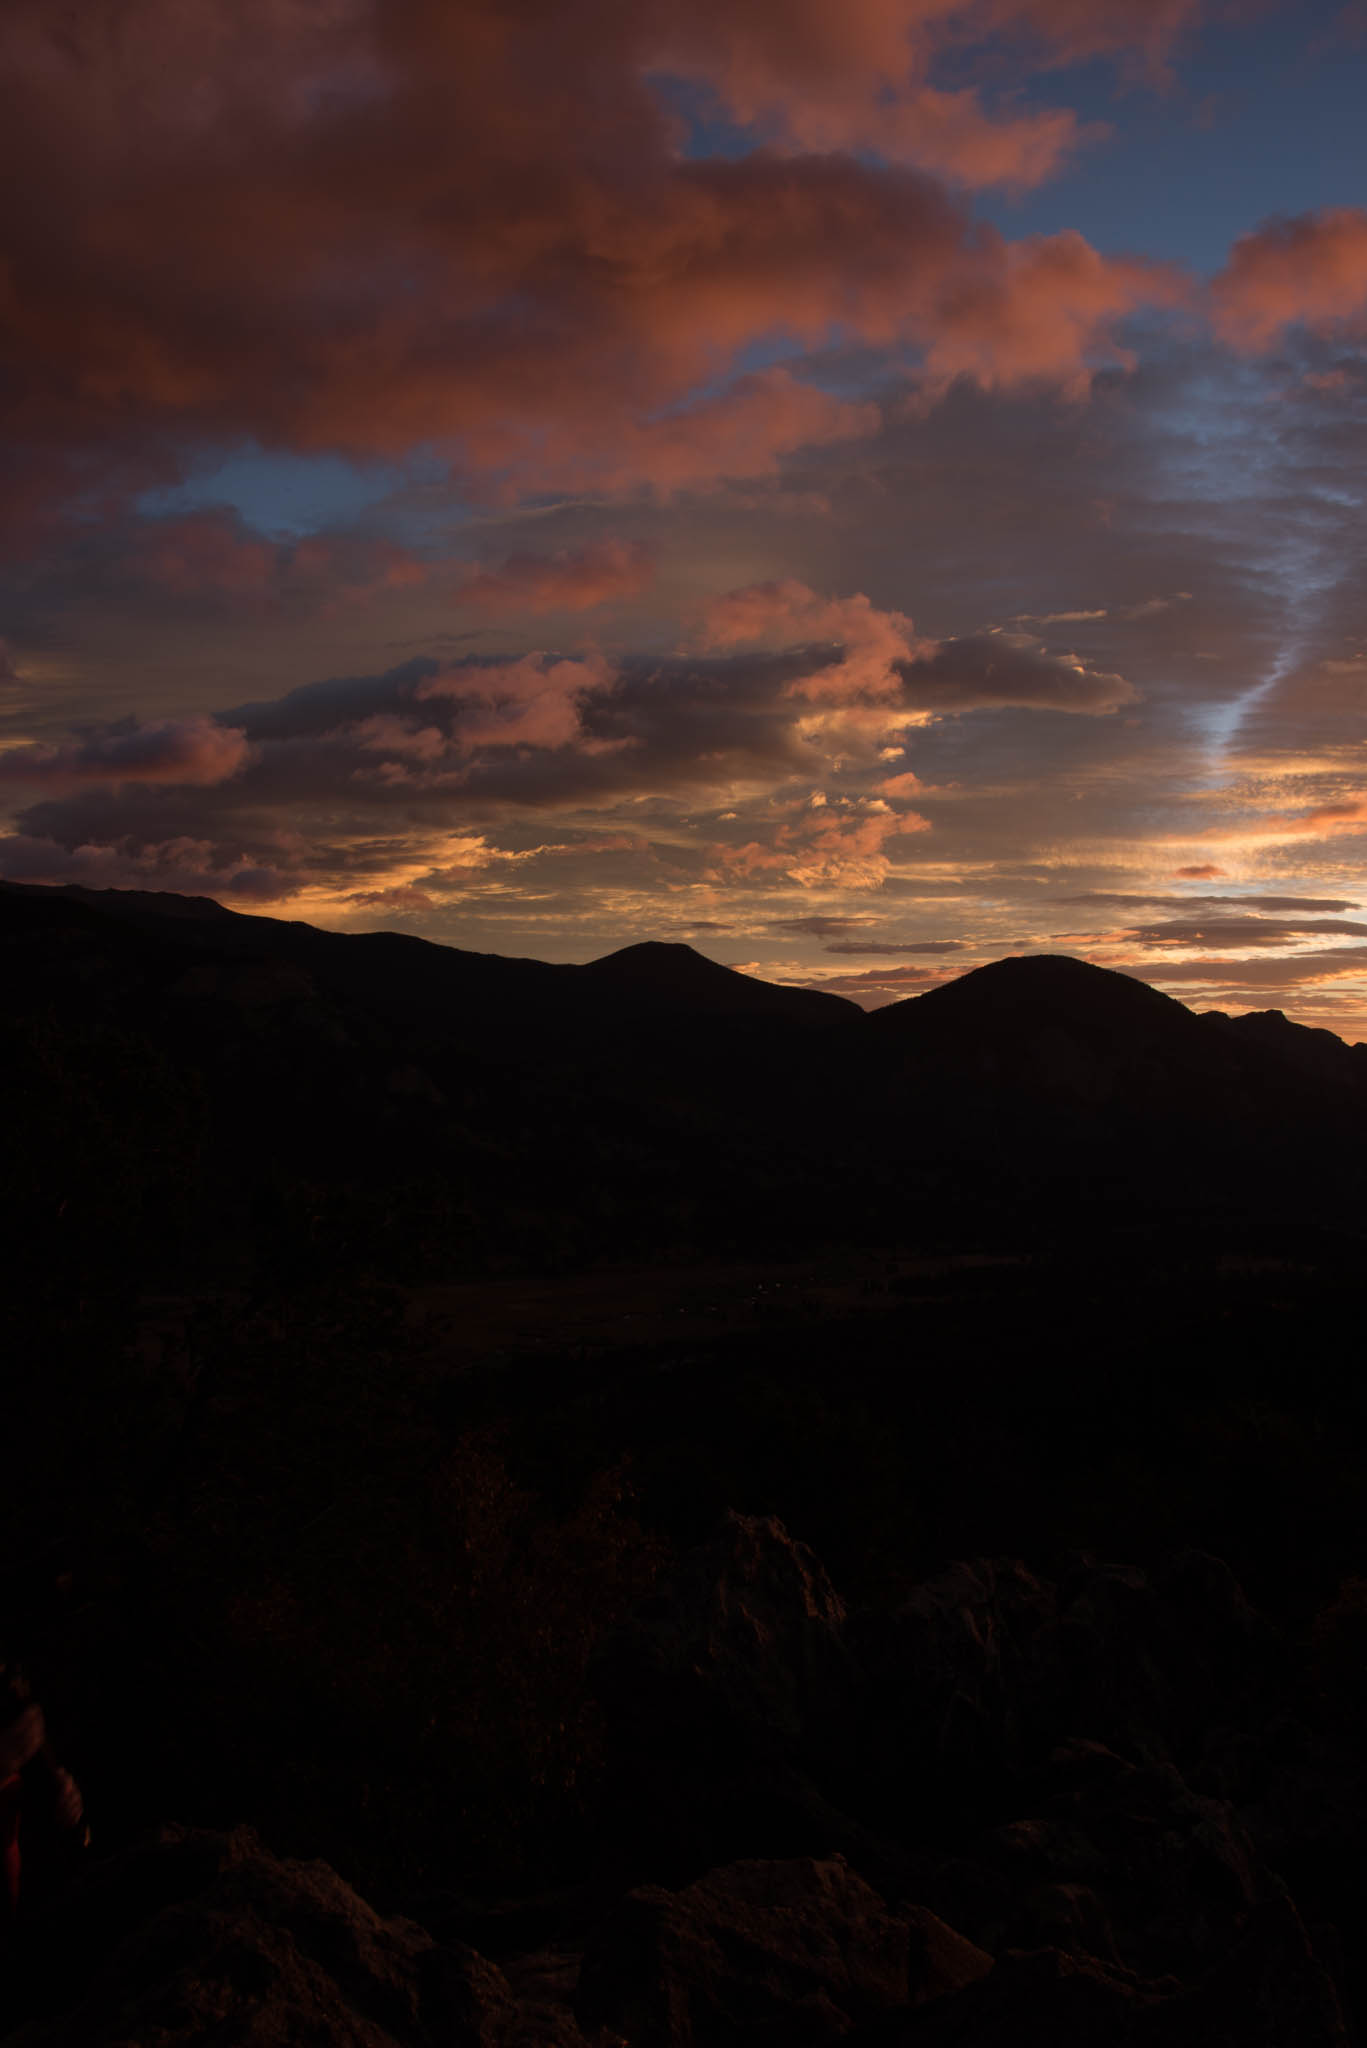
Thats it, thats how I got the shots.  Here is the final picture.

Solar Eclipse.jpg

Check out this video of my eclipse time laps.

Another Edit using presets in Lightroom by Udo Luetze

On my trip to Colorado I had a chance to shoot this sunrise near Estes Park in the Rocky Mountain National Park.  The starting picture was quite boring but there is a lot of color in the RAW file waiting to be released.

Once again I used presets and custom brushes from sleeklens.com to speed up the process.

I started by applying the Base Auto Toner (Color) and Exposure Darken Shadows Presets.  Then I increased the vibrance and used a graduated filter with the Cloudy Sky Definition brush preset to define the sky.

Now the fun begins.  With the help of brushes I added some buch needed light to the fore and middle ground as well as enhanced the golden glow on the horizon.  I also darkened some of the mountains for contrast.

Now there is much more depth to the picture.  I utilized the following brushes:  Haze Golden, Light Brighten, Light Darken and Haze Golden 2.

Next I added the Deep Blue Sky preset.

Finally I fine tuned the brush strokes, adjusted contrast and added 2 graduated filters.  One on the bottom to increase clarity in the woods and on on top to darken the sky.

Thats it! and with the help of presets I did this edit in about one third of the time.

Click to see full size image

Used presets and custom brushes from Sleeklens.  Sleekness is a company that offers LR presets and professional editing services.  Learn more at Lightroom and Editing.  

Finishing your images in Adobe Lightroom with sleeklens by Udo Luetze

DSC_1257-2.jpg

I use Lightroom as my go to tool for managing and editing my images.  LR is extremely powerful when it comes to editing RAW images but this process can be time consuming.

I recently discovered a solution from sleeklens.com that can help speed up the process.  They offer development and brush presets specific to different types of images.  The concept is simple.  Start with a RAW image and apply presets instead of manual adjustments in the development module.  The advantage her is that you can stack presets to build up your image and create the look you want.  Here is the image before and after, using only 2 presets and cropping the image.

This edit was done with 2 clicks, using 2 presets.

We could leave it at this and have a nice picture but I don't think so.  Those 2 presets gave me a great starting point.  Now I like to make the image more interesting by adding some brush strokes, utilizing the brush presets from sleeklens.

Below is the image before and after adding brush strokes.

With the help of brushes I managed to increase the detail in the water, add some punch to the clouds and add some light to the reflections in the water as well as the woods.  The picture has a lot more punch and character.

Before

RAW image

After

Edited with sleeklens

Can I do this without the use of presets?  Yes, however presets save a lot of time and when you return from a shoot with memory cards full of images, time is a luxury you don't have when it comes to post processing.

I edited the image utilizing the Through the Woods LR preset bundle from sleeklens.com.  

I used the following presets:

  • 0-All in one-Calm Sunset
  • 3 Color-Deep Blue Skies

Sleeklens is a company that offers LR presets and professional editing services.  Learn more at Lightroom and Editing.

I will be experimenting with those presets from sleeklens a bit more.  watch for future blogs on this subject.  

How many pictures does it take? by Udo Luetze

Creating a HDR panorama takes some planning and a solid workflow.  Here's mine behind this picture:

First you have to find the right spot and be there at the right time.  Sounds easier than it is because you have to know where the sun will be on the day you plan to shoot.  I found a rock formation which provided me with a front row seat to this spectacular sunrise.  Here is a 360 Panorama of the location.

Panoramic Sphere

Next I had to take 5 pictures for the panorama.  Of each picture I took 3 copies:
2f stop under exposed, regular exposed and 2f stop over exposed.

Next I had to convert those pictures into 5 HDR images.

These images were then merged into one panorama.  Finally some dodging and burning and some cleanup and the HDR panorama was done.

Pudong China by Udo Luetze

Shanghai is one of my favorite cities to visit and to photograph.  I had many opportunities to shoot the skyline but I am always looking for a new and different angle on the "same old thing".  Well, this is my take on different.  ENJOY!!!


Nikon D810 Dynamic Range by Udo Luetze

Understanding the dynamic range of your cameras sensor lets you know what you can get away with when it comes to over and under exposing.  This is especially true when you shoot in RAW.  The above picture was taken with a Nikon D810 at  24mm F10 1/80 sec.  The histogram spans from left to right, edge to edge without clipping any highlights or shadows.  The image has not been retouched except for lens profile correction.

I took this image nine times at F10 in 1 F-stop intervals.
-4 at 1/1250
-3 at 1/640
-2 at 1/320
-1 at 1/160
0 at 1/80
1 at 1/40
2 at 1/20
3 at 1/10
4 at 1/5

Below are the original images.  Click on the images to scroll through them.

Next I adjusted all the images so that they are all equally exposed.  I only changed the exposure setting in Adobe Lightroom.

-4 at 1/1250 with exposure adjustment +4 stops
-3 at 1/640 with exposure adjustment +3 stops
-2 at 1/320 with exposure adjustment +2 stops
-1 at 1/160 with exposure adjustment +1 stops
0 at 1/80
1 at 1/40 with exposure adjustment -1 stops
2 at 1/20 with exposure adjustment -2 stops
3 at 1/10 with exposure adjustment -3 stops
4 at 1/5 with exposure adjustment -4 stops

Below are the adjusted images.  Click on the images to scroll through them.

All the under exposed pictures produce pretty good results.  However at +1F I am already starting to clip the highlights in the white window frames.  From there it is all down hill.

Now you see why protecting the highlights is important and how much leeway you have with your sensor when it comes to under exposure.  There is a lot of color information that can be recovered.  I recommend to run this test with all your cameras to truly understand their dynamic range.

How to fix your white balance in a pinch by Udo Luetze

We have all been there.  Beautiful subject in beautiful light but no white balance reference to give us a tarting point in post.  Oh, and did I mention that there isn't a 18% grey card around either?

Now you may be happy with the color the way it is but what if you like to eliminate the color cast from the lighting?

Here is a trick.

If you have a watch with a metal arm band, you're in luck.  Just take a picture of your watch.

Later in post, use the watch as a reference point for the white balance.  Make sure you click on an area of the watch which is illuminated by the ambient light and not a reflection of something with a color.  You don't even have to take your watch off.

OK, this is no 18% grey card, but it will help you in a pinch.  From this point on you can manually adjust the white balance to a point that you are happy with.

click on image

Platypod PRO by Udo Luetze

I bought my Platypod PRO a while ago and never used it; until today.  The mission was to shoot a panorama from a higher vantage point.  Since none of my tripods could provide that I decided to use a ladder.  This way I was higher than usual and created the vantage point I needed for this shot.

I mounted the Platypod PRO with the help of 2 clamps on the top of my ladder.  This provided a solid base for my tripod head.

With the head mount securely to my ladder I could use my panorama rear as usual to shoot my panorama.

I was able to rotate the camera through it's nodal point for a perfect panorama.

click to enlarge

To learn more about the Platypus PRO go to: https://www.platypodpro.com 

Bottle of Wine by Udo Luetze

When you have a beautiful wine, drink it.  If it comes in a beautiful bottle, take a picture first!

Wine and Photography, they just go hand in hand.

The waterfall that wasn't by Udo Luetze

Visiting a tall waterfall can get every photographer exited.  However late in the season, it can happen that the falls run dry and the roaring thunder is reduced to a trickle.  This is what happened to me in August at the Hickory Nut Falls in North Carolina.

However don't despair because of the lack of water and pack your camera.  Better take a closer look.  Due to the lack of water, you can get closer to the wall and shoot the falls from a  new perspective.  Do you think I could have shot the above picture during peak season?

Also pay attention to the small stuff.

Small trickles  can have a beauty of their own and through the magic of long exposure (3 seconds in this case) they can create a beauty that is usually hidden.

So, if the big stuff is not cooperating, enjoy the small details and you may just capture something nobody gets to see during high season.

Porsche Boxster Shoot by Udo Luetze

Today I did my first studio car shoot.  The plan was to get a frontal shot of this Porsche Boxster S.
The setting was 1/250 at F5 ISO100.

For lighting I used 2 strip boxes, one on the left and one on the right.  The strip boxes were equipped with a grid to control the light and narrow the beam.

It was essential to set up the lights symmetrical so that the reflections on the car match on both sides.  On the floor you can see how the grid is focusing the light.  The falloff from light to shadow is very narrow.  Because of the narrow beam, it is crucial to set the lights up at the right hight and angle.  The goal was to illuminate the entire front from fender to fender.  At the right position, the two beam "meet" in the center of the hood.  This illuminates the car evenly.

To illuminate the interior, specifically the seats, I placed a small flash inside the car.  I attached a flash bender to control the direction of the light and to eliminate overspill.  

Setup of one of the lights.  For strobes, I used Einstein E640 flash units.  The strip boxes are from China.

Behind the car is a black fabric backdrop.  It is important to eliminate light reflections.  The ceiling in this warehouse is white with red beams.  In the beginning, I had a perfect reflection of the ceiling on the hood.  By reducing the light spill with the grids, I managed to control this problem.  In an ideal environment, all the walls and the ceiling are black.

Buggy by Udo Luetze

I build this car 32 years ago and it is still running.  Now I finally had a chance to take a sunset shot with it.

Blue Moon by Udo Luetze

Blue Moon over southern Germany.

Took this picture with my 300mm lens at f8 iso100 1/200s.  Thanks to the incredible resolution of my Nikon D810 I was able to crop in tight and capture all the details.

The perfect travel camera backpack by Udo Luetze

I like to travel and whenever possible, I like to take my camera with me.  Preferably not just one body and one lens but enough equipment to be creative.  I think I found the perfect travel companion with the Think Tank Airport Essentials backpack.

The Airport Essentials is a bag small enough to be considered a personal item (at least in my opinion and I see other people carrying bigger bags) so I can take it with my carryon case on a plane.  Therefore, if I like to shoot when I travel, I just have to grab one extra piece of luggage to carryon.

I also like to bring a tripod which fits perfectly into my carryon case. So I am all set with gear.

So why is this case so perfect?  I can pack a full frame body and 5 lensed plus all the accessories I need.  It even has room for my iPad and 15in MacBook PRO.  No matter what I am shooting, I have all the gear I need.

All my gear, packed into one compact backpack.

The backpack and all my gear

I can pack  my Nikon D810 body and the following lenses:
Nikon 14-24mm f2.8 / 24-70mm f2.8 / 70-200mm f2.8 / 28-300mm f3.5-5.6
Sigma 8mm f3.5

Since I enjoy panorama photography, I also like to bring some basic equipment for shooting panos.

This is my Nodal Ninja Ultimate R1 pano head with bracket for the Sigma 8mm fisheye lens.  This setup is used to shoot full spherical panoramas.

This is my Really Right Stuff rail system on top of the RR ball head from my tripod.  This system is used for shooting cylindrical panos.  I can rotate the lens around the nodal point.

Finally; I also have all the necessary equipment for long exposures.  From ND filters to a remote control timer.  Everything fits into this bag.

No matter wether I shoot travel, landscape, pano or anything else.  This bag holds it all and I can use it as a personal item on most airlines (based on my experience).  How cool is that?

Oh and my the way, if I really need to pack a punch and bring all my gear on a domestic flight, I'll ditch the carry on case and bring my Think Tank Airport Security V 2.0. along. Now I can carry on everything except the kitchen sink.  Hello Nikon 200-400 f4.0, here we go.

Hope you enjoyed this post.  Please follow me on social media and contact me with any questions or comments. 


A Great Shot by Udo Luetze

What makes a shot great.

What is the difference between an OK shot and a great shot?  There are certainly many different answers available and most of them are relevant but let me focus on only one:  The right moment in time.

P 51 and Corsair

The right moment

Think about it, facial muscles are constantly moving and expressions change from one split second to another.  We all know how hard it is to take a family portrait with everyone smiling and their eyes open.  It is even challenging when you take a portrait of a single person.  Sure you can snap a couple of pictures and one of them will be OK but to get a great shot, you have to work with your subject and your timing must be spot on.

The same is true for sports photography and action packed events.  You can take a thousand pictures but if you miss the peak of the action, you just get an OK picture.

Luckily technology is on our side.  DSLRs are capable of shooting an insane amount of pictures and our cards eat them all up.  Plus the higher megapixel cameras give us all the detail we want.  Sometimes it's spray and pray and other times, it's working a scene and taking pictures until you can hardly hold the camera.

I found myself in this situation during an air show in North Carolina.  I was shooting ground to air and you could not let go of the trigger and risk missing the peak of the action.

In this shot, the solo plane is performing a barrel roll around the diamond formation.  I wanted to catch the plane in the right position.

To capture this moment, I had to take about 50 shots on one pass alone.  Using two cameras, a D4s and a D810, creates thousands of pictures at an event like this.

Having powerful gear is great but it also has a downside.  You produce a ton of data and more pictures than you want to review when you are back at the studio.

I use Lightroom to find the keepers but when you have thousands of pictures, LR is too slow.  Waiting a second or two for a preview to build may not sound like much but trust me, it's a long time when you have to find the winning shot among 50 to 100 pictures.  Luckily there is technology to help you with this technological challenge.  Meet Photo Mechanic from camera bits at CameraBits.com.  The fastest software for reviewing images on the market (hey, if you find something faster, call me).

When I come home from shooting a sporting event or any other event with hundreds or thousands of pictures, I start my workflow with Photo Mechanic

Workflow with Photo Mechanic

The first thing you have to do when returning from the field is to copy your images from your camera to your computer.  Photo Mechanic shines at this.  The process is called ingest.  During ingest, you copy your pictures and create a contact sheet.  But this is not all.  You can also automatically update your metadata to include copyright and location information or any other metadata for this matter.  You can choose to make one copy at one destination or you can add a  second copy at a backup location.  When I travel, I typically cary my MacBook Air and 2 external hard drives.  After shooting, I ingest all my pictures and make a safety backup at the same time.  The result is a contact sheet that shows me all the pictures.

Now the fun really begins and this is where Photo Mechanic really shines.  I zoom in on the first image to fill the screen.  I used the left and right arrow keys to scroll through my images.  The previews build lighting fast and you can identify keepers which are sharp and in frame very quickly.  A picked image gets marked with a number or star just like you would do in LR.

Photo Mechanic is the fastest way to edit the images from my shoot.  This is something I can do on location while the ingest process is still taking place.  Once this is done, I identified my keepers and my trash.  I then import my keepers into LR at my studio where I manage and archive all my pictures.  The "trash" files go to my server where I maintain a special folder for unwanted images.  I keep them there for about 3 months before I delete them for good.

Getting the right shot is all about pointing the camera in the right direction at the right time.  It is also important to be able to find your keepers fast amongst the thousands of pictures you take.

The difference between a good and a bad photographer is simple.  A good photographers only shows his best images.  

Hope you enjoyed this post.  Please follow me on social media and contact me with any questions or comments. 

Panorama Workflow by Udo Luetze

For a long time, I wanted to document my panorama workflow from start to finish.

Equipment

  • Nikon D810 with 8mm Sigma fisheye lens set at f16
  • Nodal Ninja Ultimate R1 panoramic head with Sigma 8mm fisheye adapter
  • Really Right Stuff tripod and ball head
  • Adobe Lightroom cc 2015, LR
  • Adobe Photoshop cc 2015, PS
  • PTGui PRO, PTGui

click to enlarge

In this example, I am taking a spherical panorama of New York City from Governors Island.  My camera is pointed upward at 7.5 degrees and I am taking pictures from 6 positions at 60 degrees intervals.  Since I am using a true circular fisheye with 180 degrees view in all directions, it doesn't matter weather I use my camera in landscape or portrait mode.  I prefer portrait mode because it is easier to operate the camera this way.

From where to shoot

Needless to say that you should have a clear view of you main subject, but please don't ignore the surroundings around you, including the ground below and sky above you.  In this situation, I picked a spot along the water front in the shade under a tree.  It was early in the day so I did not have to worry about people in my picture.  The shade under the tree also offers two more advantages:
ONE: Shade on the Ground eliminates shadows of camera equipment which have to be removed in post.
TWO: The sun is shining through the canopy and at f16, the lens creates a nice starburst effect.

Setup

A solid and sturdy tripod is a must.  The panorama head should be perfectly level to avoid additional work in post processing.  I use my iPhone to get the pano gear level.  Since I am using a light travel tripod, I hang my gear bag from the center column to further stabilize the setup.  One more thing.  As you can see in the picture, the neck strap is still attached to the camera.  I hold it in my left hand while I am shooting as a safety measure in case the setup is not entirely sturdy.  Just make sure that the strap stays away from the lens. 

Shooting

Before you can shoot, you need to get a meter reading for proper exposure.  I use my camera with the fisheye lens and take some test shots of the main subject to establish proper exposure.  You also need to set you focus to a point where everything is in focus at f16.  Consult a chart or an app for the right focus distance.  Then lock focus so that the camera does not refocus during the shoot.  Once proper exposure is established, I dial it in and switch to manual mode.  I took 5 pictures (HDR) at 1 f-stop interval at each position, resulting in 30 pictures for this panorama.  The Number of HDR intervals depends on the lighting situation and the dynamic range of your cameras sensor.  To get the maximum performance, I shoot in RAW.

click to enlarge

You should shoot as fast as possible.  Moving clouds can change the lighting situation to a point where the images from the first and the last set don't fit exposure wise.  You can also shoot 2 or 3 sets of images so that you have options.  I do this when I have people or cars moving through my image.  If they disturb my picture on the first go around, maybe they are gone on the second.

It is recommended to use a cable release to reduce camera shake.  I used a different method.  I set my camera (Nikon D810) to bracket 5 exposures at 1 f-stop interval.  Then I set my timer to 2 seconds.  At each position, I pressed the shutter button and 2 seconds later, the camera took 5 pictures for me automatically.  The 2 second delay was enough to reduce camera shake. 

That's it.  Check your work for exposure, sharpness, content and completeness.  Once you are satisfied, you can pack up and head to the studio for post processing.

Post Processing

All pictures are imported into LR.  I remove Chromatic Aberration from all images and that's it for processing at this stage.  Whenever I do HDR, I like to process the image as little as possible so that the software has the original information to work with.

HDR is being processed inside of LR.  For this I select the first and the last picture in the series only!  This works extremely well with the D810.  I select Auto Align and Auto Tone.  The deghost amount is set to high due to the water and the leaves.

click to enlarge

Now I select the HDR images and check them for exposure differences on an individual basis.  Be careful no to touch any other settings since they vary due to Auto Tone.  Finally, I do a global adjust on sharpness and noise reduction before I export those files into TIFF format.  I take this step to "bake" the auto tone values into the image.

Next I reimport the TIFFs into LR for final editing.  You can see my values for editing in the screen shots below.

After import, click to enlarge

After edit, click to enlarge

I also check again for chromatic aberration.  Now I am ready to export the files once again as TIFFs for stitching in PTGui.  Inside PTGui I make sure that the pictures align properly and that I don't have any problems to deal with later on.

Pictures are ready for alignment in PTGui. Click to enlarge

Aligned panorama, ready for stitching. Click to enlarge

Prior to stitching, I run the optimizer to check the quality of the alignment. 

click to enlarge

Alignement is good so we are ready to create the panorama.  I save it as a TIFF file set to optimum size.  Here is the finished file from PTGui.

click to enlarge

Now we have to deal with the bottom of the picture.  My pano setup does not cover the area of the tripod at the bottom, thus there is a blank space in the pano.  You can take a shot of the ground once the tripod has been removed and mount this picture into the image.  In this case, I am placing the famous chrome ball at the bottom of my image.  For this I open the image in PS.

First I set a new horizontal guide where the chrome ball should start.  This is right above the tripod legs visible in the picture.

click to enlarge

Next I select the image above the horizontal guide and copy it onto a new layer.  Then I flip this new layer vertically.

click to enlarge

Finally I compress this new layer to the height of the space below the horizontal control line and place it there.  This layer should be perfectly centered underneath the original picture.

click to enlarge

That's it.  Now you can save the image and display it.  Here is the final image:

click to enlarge

Finally I used KR Pano to convert the finished file for web viewing.  Click on the image below for the finished result.

click to see the final pano in a web browser

click to see the final pano in a web browser

Thanks for reading this blog entry.  Please contact me if you have any questions or comments about this post.

Click HERE to see all of my panoramas.

Udo Luetze

Winter in Boston by Udo Luetze

click on image

Right after the sun went down I captured this twilight scene of Boston in the Winter.  As the sky grows dark, the final sun light still reflects in the buildings.